We all LOVE creating mini scrapbooks! If you haven’t given making a mini a chance, you are absolutely missing out. Minis are great to display on your coffee table, your desk, your child’s room, or any place you like to keep home decor. Mini scrapbooks brighten your day by quickly reminding you of a special event, special feelings, or special sentiment you would like to share.
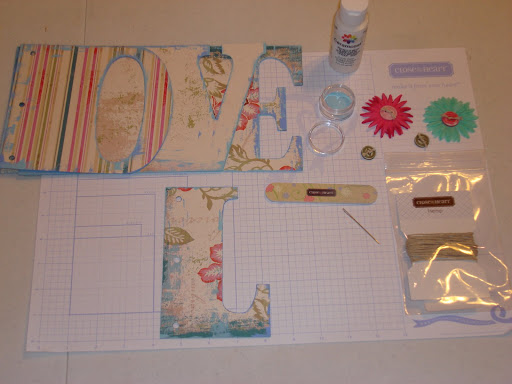
Chipboard is one of the fastest and funnest mediums to decorate. This chipboard album is made by Bo Bunny, but I have decorated the pages with Close To My Heart Scrapbook Products. I used a Floral Tapestry Scrapbook Kit, Autumn Garden Organdy Ribbon Rounds, Autumn Buttons, Natural Hemp, Exclusive Ink Pads, and several items from The Distressing Kit.
 (Here are some items I used).
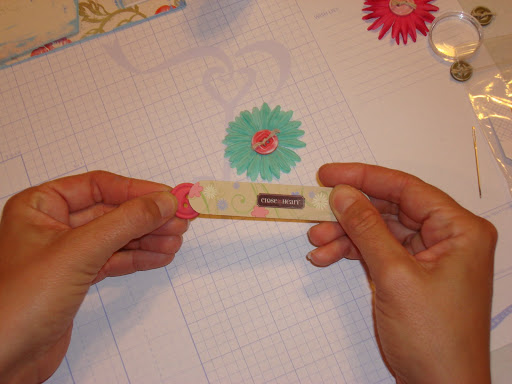
I sanded the buttons with emery board from the distrssing kit and threaded Natural Hemp through the button holes to give them a weathered look
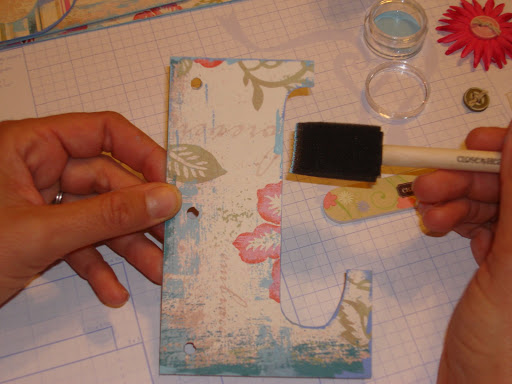
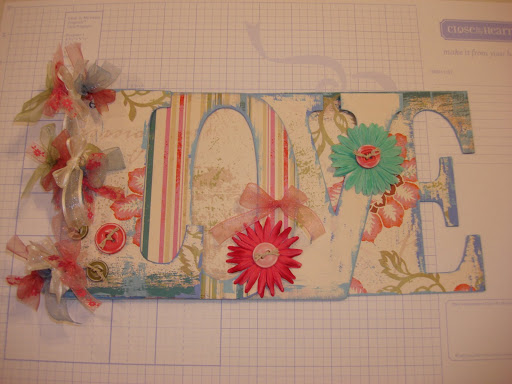
I traced each letter on my B & T paper, cut it out, punched holes, and adhered the paper to the chipboard letter using Mod Podge with a sponge. I let it dry overnight under some heavy books. (Same techniques as The Puzzle Mini Scrapbook in a previous post).
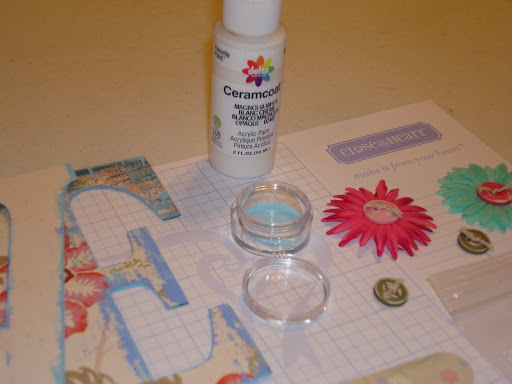
After I mixed the white paint from my distressing kit with reinker, I applied paint to the edges of each page of the chipboard letters. I love this paper, because it already has this distressed look. I just added more!